
算力平台:
Stable Diffusion 管道
Stable Diffusion 是由 CompVis、Stability AI 和 LAION 的研究人员和工程师创建的文本到图像潜在扩散模型。潜在扩散在较低维度的潜在空间上应用扩散过程,以减少内存和计算复杂性。这种特定的扩散模型在 Robin Rombach、Andreas Blattmann、Dominik Lorenz、Patrick Esser 和 Björn Ommer 的论文 高分辨率图像合成与潜在扩散模型 中提出。
Stable Diffusion 在 LAION-5B 数据集的一个子集中的 512x512 图像上进行训练。该模型使用冻结的 CLIP ViT-L/14 文本编码器来根据文本提示条件化模型。凭借其 860M UNet 和 123M 文本编码器,该模型相对轻量,可以在消费级 GPU 上运行。
有关 Stable Diffusion 的工作原理及其与基础潜在扩散模型的区别的更多详细信息,请查看 Stability AI 的 公告 和我们自己的 博客文章 以获取更多技术细节。
你可以在 CompVis/stable-diffusion 找到 Stable Diffusion v1.0 的原始代码库,在 Stability-AI/stablediffusion 找到 Stable Diffusion v2.0 的原始代码库,以及它们用于各种任务的原始脚本。不同 Stable Diffusion 版本和任务的额外官方检查点可以在 CompVis、Runway 和 Stability AI Hub 组织中找到。探索这些组织以找到最适合你用例的检查点!
下表总结了可用的 Stable Diffusion 管道、它们支持的任务以及一个交互式演示:
| Pipeline | Supported tasks | 🤗 Space |
|---|---|---|
| StableDiffusion | text-to-image | |
| StableDiffusionImg2Img | image-to-image | |
| StableDiffusionInpaint | inpainting | |
| StableDiffusionDepth2Img | depth-to-image | |
| StableDiffusionImageVariation | image variation | |
| StableDiffusionPipelineSafe | filtered text-to-image | |
| StableDiffusion2 | text-to-image, inpainting, depth-to-image, super-resolution | |
| StableDiffusionXL | text-to-image, image-to-image | |
| StableDiffusionLatentUpscale | super-resolution | |
| StableDiffusionUpscale | super-resolution | |
| StableDiffusionLDM3D | text-to-rgb, text-to-depth, text-to-pano | |
| StableDiffusionUpscaleLDM3D | ldm3d super-resolution |
提示
为了帮助你充分利用 Stable Diffusion 管道,这里有一些提高性能和可用性的技巧。这些技巧适用于所有 Stable Diffusion 管道。
探索速度与质量之间的权衡
[StableDiffusionPipeline] 默认使用 [PNDMScheduler],但 🤗 Diffusers 提供了许多其他调度器(其中一些更快或输出质量更好),它们是兼容的。例如,如果你想使用 [EulerDiscreteScheduler] 而不是默认的:
py
from diffusers import StableDiffusionPipeline, EulerDiscreteScheduler

pipeline = StableDiffusionPipeline.from_pretrained("CompVis/stable-diffusion-v1-4")
pipeline.scheduler = EulerDiscreteScheduler.from_config(pipeline.scheduler.config)

# or
euler_scheduler = EulerDiscreteScheduler.from_pretrained("CompVis/stable-diffusion-v1-4", subfolder="scheduler")
pipeline = StableDiffusionPipeline.from_pretrained("CompVis/stable-diffusion-v1-4", scheduler=euler_scheduler)
重用管道组件以节省内存
为了节省内存并在多个管道之间使用相同的组件,使用 .components 方法以避免将权重多次加载到 RAM 中。
py
from diffusers import (
    StableDiffusionPipeline,
    StableDiffusionImg2ImgPipeline,
    StableDiffusionInpaintPipeline,
)

text2img = StableDiffusionPipeline.from_pretrained("CompVis/stable-diffusion-v1-4")
img2img = StableDiffusionImg2ImgPipeline(**text2img.components)
inpaint = StableDiffusionInpaintPipeline(**text2img.components)

# now you can use text2img(...), img2img(...), inpaint(...) just like the call methods of each respective pipeline
使用 gradio 创建网页演示
Stable Diffusion 管道在 Gradio 中自动得到支持,Gradio 是一个让创建美观且用户友好的机器学习网页应用变得轻松的库。首先,确保你已经安装了 Gradio:
sh
pip install -U gradio然后,围绕任何基于 Stable Diffusion 的管道创建一个网页演示。例如,你可以使用 Gradio 的 Interface.from_pipeline 函数在一行代码中创建一个图像生成管道:
py
from diffusers import StableDiffusionPipeline
import gradio as gr

pipe = StableDiffusionPipeline.from_pretrained("CompVis/stable-diffusion-v1-4")

gr.Interface.from_pipeline(pipe).launch()
这将在你的浏览器中打开一个直观的拖放界面:
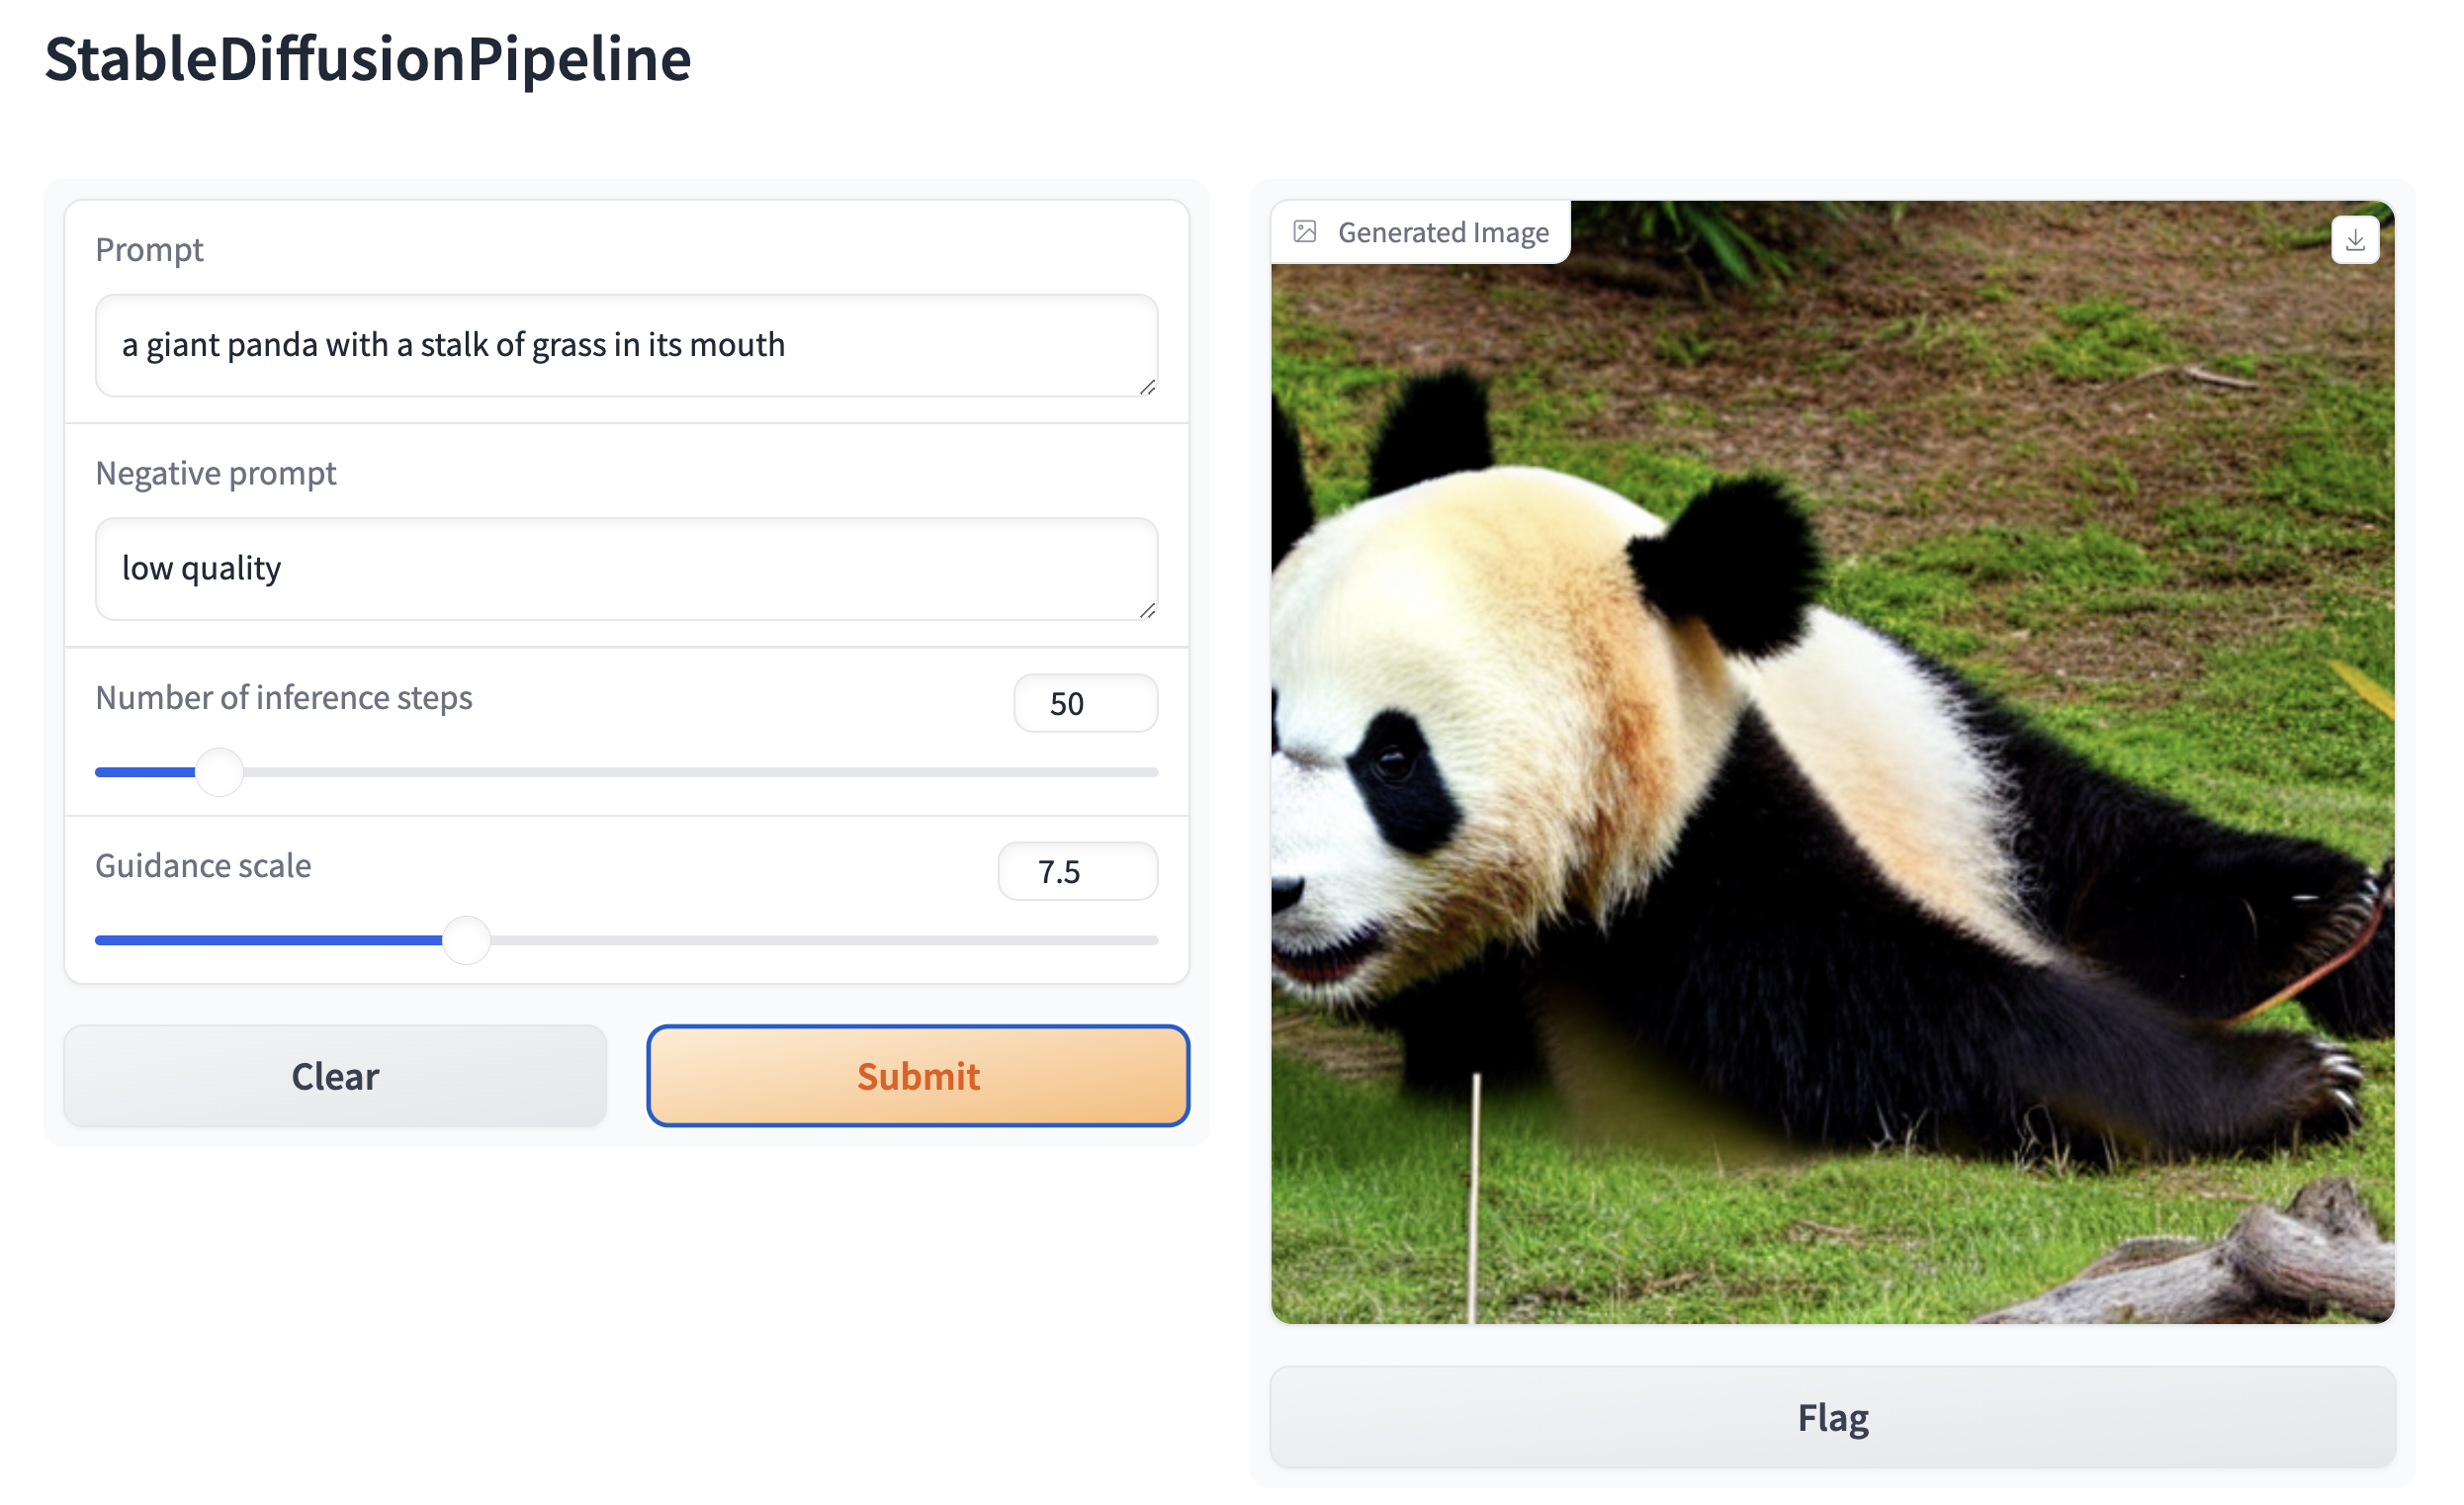
同样地,你可以使用以下代码创建一个图像到图像的演示:
py
from diffusers import StableDiffusionImg2ImgPipeline
import gradio as gr


pipe = StableDiffusionImg2ImgPipeline.from_pretrained("stable-diffusion-v1-5/stable-diffusion-v1-5")

gr.Interface.from_pipeline(pipe).launch()
默认情况下,网页演示运行在本地服务器上。如果你想与他人分享,可以通过在 launch() 中设置 share=True 来生成一个临时的公共链接。或者,你可以将你的演示托管在 Hugging Face Spaceshttps://huggingface.co/spaces 上,以获得一个永久链接。