
算力平台:
文本或图像到视频
受文本到图像扩散模型成功的推动,生成视频模型能够从文本提示或初始图像生成短视频片段。这些模型通过在预训练的扩散模型中添加某种类型的时间和/或空间卷积层来生成视频。使用图像和视频的混合数据集训练模型,使其能够根据文本或图像条件输出一系列视频帧。
本指南将向你展示如何生成视频、如何配置视频模型参数以及如何控制视频生成。
流行模型
TIP
在 Hub 上发现其他酷炫且流行的视频生成模型 这里!
Stable Video Diffusions (SVD)、I2VGen-XL、AnimateDiff 和 ModelScopeT2V 是用于视频扩散的流行模型。每个模型都有其独特之处。例如,AnimateDiff 在冻结的文本到图像模型中插入了一个运动建模模块,以生成个性化的动画图像,而 SVD 则通过三阶段训练过程从头开始完全预训练,以生成高质量的短视频。
CogVideoX 是另一个流行的视频生成模型。该模型是一个多维变压器,集成了文本、时间和空间。它在注意力模块中使用全注意力机制,并在层级别包含一个专家块,以在空间上对齐文本和视频。
CogVideoX
CogVideoX 使用 3D 变分自编码器 (VAE) 沿空间和时间维度压缩视频。
首先加载 [CogVideoXPipeline],并传递初始文本或图像以生成视频。
py
import torch
from diffusers import CogVideoXImageToVideoPipeline
from diffusers.utils import export_to_video, load_image

prompt = "A vast, shimmering ocean flows gracefully under a twilight sky, its waves undulating in a mesmerizing dance of blues and greens. The surface glints with the last rays of the setting sun, casting golden highlights that ripple across the water. Seagulls soar above, their cries blending with the gentle roar of the waves. The horizon stretches infinitely, where the ocean meets the sky in a seamless blend of hues. Close-ups reveal the intricate patterns of the waves, capturing the fluidity and dynamic beauty of the sea in motion."
image = load_image(image="cogvideox_rocket.png")
pipe = CogVideoXImageToVideoPipeline.from_pretrained(
    "THUDM/CogVideoX-5b-I2V",
    torch_dtype=torch.bfloat16
)

pipe.vae.enable_tiling()
pipe.vae.enable_slicing()

video = pipe(
    prompt=prompt,
    image=image,
    num_videos_per_prompt=1,
    num_inference_steps=50,
    num_frames=49,
    guidance_scale=6,
    generator=torch.Generator(device="cuda").manual_seed(42),
).frames[0]

export_to_video(video, "output.mp4", fps=8)

稳定视频扩散
SVD 基于 Stable Diffusion 2.1 模型,并在图像、低分辨率视频和最终的高分辨率视频小数据集上进行训练。该模型从初始图像生成一段 2-4 秒的视频。你可以在 Stable Video Diffusion 指南中了解有关模型的更多细节,例如微调条件。
首先加载 [StableVideoDiffusionPipeline],并传递一个初始图像以生成视频。
py
import torch
from diffusers import StableVideoDiffusionPipeline
from diffusers.utils import load_image, export_to_video

pipeline = StableVideoDiffusionPipeline.from_pretrained(
    "stabilityai/stable-video-diffusion-img2vid-xt", torch_dtype=torch.float16, variant="fp16"
)
pipeline.enable_model_cpu_offload()

image = load_image("https://huggingface.co/datasets/huggingface/documentation-images/resolve/main/diffusers/svd/rocket.png")
image = image.resize((1024, 576))

generator = torch.manual_seed(42)
frames = pipeline(image, decode_chunk_size=8, generator=generator).frames[0]
export_to_video(frames, "generated.mp4", fps=7)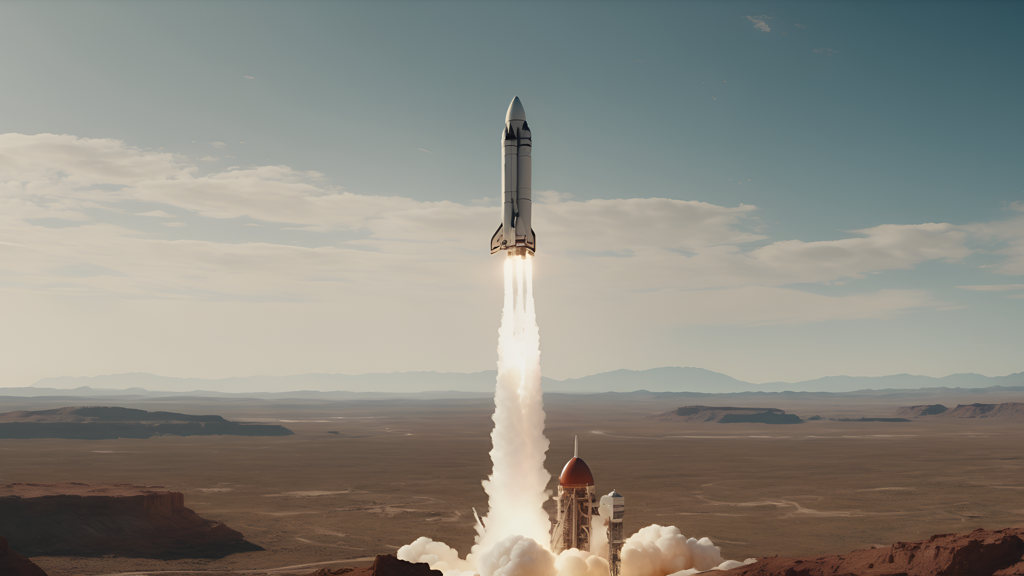

I2VGen-XL
I2VGen-XL 是一个扩散模型,可以生成比 SVD 更高分辨率的视频,并且还能够接受文本提示和图像。该模型使用两个层次编码器(细节编码器和全局编码器)进行训练,以更好地捕捉图像中的低级和高级细节。这些学习到的细节用于训练一个视频扩散模型,该模型可以细化生成视频的分辨率和细节。
你可以通过加载 [I2VGenXLPipeline] 并传递文本和图像提示来使用 I2VGen-XL 生成视频。
py
import torch
from diffusers import I2VGenXLPipeline
from diffusers.utils import export_to_gif, load_image

pipeline = I2VGenXLPipeline.from_pretrained("ali-vilab/i2vgen-xl", torch_dtype=torch.float16, variant="fp16")
pipeline.enable_model_cpu_offload()

image_url = "https://huggingface.co/datasets/diffusers/docs-images/resolve/main/i2vgen_xl_images/img_0009.png"
image = load_image(image_url).convert("RGB")

prompt = "Papers were floating in the air on a table in the library"
negative_prompt = "Distorted, discontinuous, Ugly, blurry, low resolution, motionless, static, disfigured, disconnected limbs, Ugly faces, incomplete arms"
generator = torch.manual_seed(8888)

frames = pipeline(
    prompt=prompt,
    image=image,
    num_inference_steps=50,
    negative_prompt=negative_prompt,
    guidance_scale=9.0,
    generator=generator
).frames[0]
export_to_gif(frames, "i2v.gif")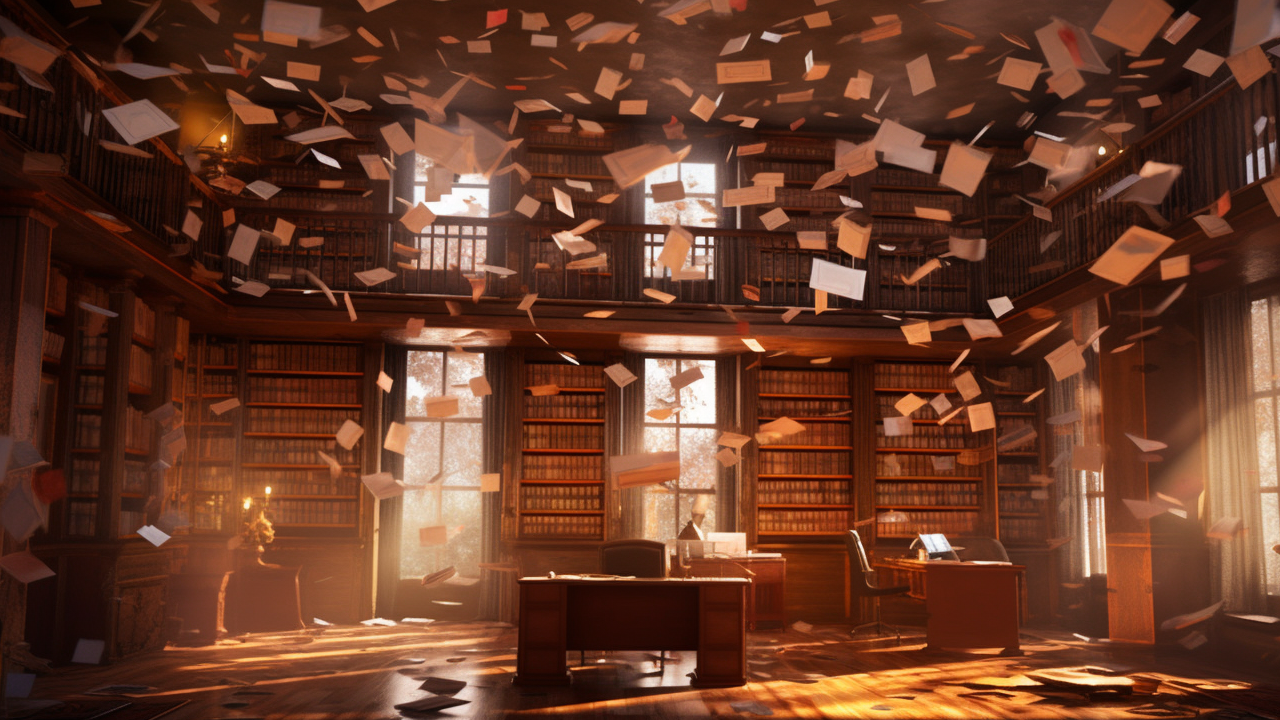
AnimateDiff
AnimateDiff 是一个适配器模型,它将一个运动模块插入到预训练的扩散模型中,以使图像动画化。该适配器在视频片段上进行训练,以学习运动,这些运动用于调节生成过程,从而创建视频。仅训练适配器更快且更容易,它可以加载到大多数扩散模型中,有效地将它们转变为“视频模型”。
首先加载一个 [MotionAdapter]。
py
import torch
from diffusers import AnimateDiffPipeline, DDIMScheduler, MotionAdapter
from diffusers.utils import export_to_gif

adapter = MotionAdapter.from_pretrained("guoyww/animatediff-motion-adapter-v1-5-2", torch_dtype=torch.float16)
然后使用 [AnimateDiffPipeline] 加载一个微调的 Stable Diffusion 模型。
py
pipeline = AnimateDiffPipeline.from_pretrained("emilianJR/epiCRealism", motion_adapter=adapter, torch_dtype=torch.float16)
scheduler = DDIMScheduler.from_pretrained(
    "emilianJR/epiCRealism",
    subfolder="scheduler",
    clip_sample=False,
    timestep_spacing="linspace",
    beta_schedule="linear",
    steps_offset=1,
)
pipeline.scheduler = scheduler
pipeline.enable_vae_slicing()
pipeline.enable_model_cpu_offload()
创建一个提示并生成视频。
py
output = pipeline(
    prompt="A space rocket with trails of smoke behind it launching into space from the desert, 4k, high resolution",
    negative_prompt="bad quality, worse quality, low resolution",
    num_frames=16,
    guidance_scale=7.5,
    num_inference_steps=50,
    generator=torch.Generator("cpu").manual_seed(49),
)
frames = output.frames[0]
export_to_gif(frames, "animation.gif")
ModelscopeT2V
ModelscopeT2V 在 UNet 中添加了空间和时间卷积及注意力机制,并在图像-文本和视频-文本数据集上进行训练,以增强其在训练期间的学习效果。该模型接收一个提示,对其进行编码并生成文本嵌入,这些嵌入由 UNet 去噪,然后由 VQGAN 解码成视频。
将 ModelScopeT2V 检查点加载到 [DiffusionPipeline] 中,并使用提示生成视频。
py
import torch
from diffusers import DiffusionPipeline
from diffusers.utils import export_to_video

pipeline = DiffusionPipeline.from_pretrained("damo-vilab/text-to-video-ms-1.7b", torch_dtype=torch.float16, variant="fp16")
pipeline.enable_model_cpu_offload()
pipeline.enable_vae_slicing()

prompt = "Confident teddy bear surfer rides the wave in the tropics"
video_frames = pipeline(prompt).frames[0]
export_to_video(video_frames, "modelscopet2v.mp4", fps=10)
配置模型参数
你可以配置管道中的几个重要参数,这些参数会影响视频生成过程和质量。让我们更详细地看看这些参数的作用以及更改它们如何影响输出。
帧数
num_frames 参数决定了每秒生成的视频帧数。帧是按顺序播放的图像,用于创建运动或视频。这会影响视频长度,因为管道每秒生成一定数量的帧(请参阅管道的 API 参考以获取默认值)。要增加视频时长,你需要增加 num_frames 参数。
py
import torch
from diffusers import StableVideoDiffusionPipeline
from diffusers.utils import load_image, export_to_video

pipeline = StableVideoDiffusionPipeline.from_pretrained(
    "stabilityai/stable-video-diffusion-img2vid", torch_dtype=torch.float16, variant="fp16"
)
pipeline.enable_model_cpu_offload()

image = load_image("https://huggingface.co/datasets/huggingface/documentation-images/resolve/main/diffusers/svd/rocket.png")
image = image.resize((1024, 576))

generator = torch.manual_seed(42)
frames = pipeline(image, decode_chunk_size=8, generator=generator, num_frames=25).frames[0]
export_to_video(frames, "generated.mp4", fps=7)
指导尺度
guidance_scale 参数控制生成的视频与文本提示或初始图像的对齐程度。较高的 guidance_scale 值意味着生成的视频与文本提示或初始图像的对齐程度更高,而较低的 guidance_scale 值意味着生成的视频对齐程度较低,这可能会给模型更多的“创造性”来解释条件输入。
py
import torch
from diffusers import I2VGenXLPipeline
from diffusers.utils import export_to_gif, load_image

pipeline = I2VGenXLPipeline.from_pretrained("ali-vilab/i2vgen-xl", torch_dtype=torch.float16, variant="fp16")
pipeline.enable_model_cpu_offload()

image_url = "https://huggingface.co/datasets/diffusers/docs-images/resolve/main/i2vgen_xl_images/img_0009.png"
image = load_image(image_url).convert("RGB")

prompt = "Papers were floating in the air on a table in the library"
negative_prompt = "Distorted, discontinuous, Ugly, blurry, low resolution, motionless, static, disfigured, disconnected limbs, Ugly faces, incomplete arms"
generator = torch.manual_seed(0)

frames = pipeline(
    prompt=prompt,
    image=image,
    num_inference_steps=50,
    negative_prompt=negative_prompt,
    guidance_scale=1.0,
    generator=generator
).frames[0]
export_to_gif(frames, "i2v.gif")
负面提示
负面提示可以阻止模型生成你不希望它生成的内容。这个参数通常用于通过移除不良或糟糕的特征(如“低分辨率”或“细节差”)来提高整体生成质量。
py
import torch
from diffusers import AnimateDiffPipeline, DDIMScheduler, MotionAdapter
from diffusers.utils import export_to_gif

adapter = MotionAdapter.from_pretrained("guoyww/animatediff-motion-adapter-v1-5-2", torch_dtype=torch.float16)

pipeline = AnimateDiffPipeline.from_pretrained("emilianJR/epiCRealism", motion_adapter=adapter, torch_dtype=torch.float16)
scheduler = DDIMScheduler.from_pretrained(
    "emilianJR/epiCRealism",
    subfolder="scheduler",
    clip_sample=False,
    timestep_spacing="linspace",
    beta_schedule="linear",
    steps_offset=1,
)
pipeline.scheduler = scheduler
pipeline.enable_vae_slicing()
pipeline.enable_model_cpu_offload()

output = pipeline(
    prompt="360 camera shot of a sushi roll in a restaurant",
    negative_prompt="Distorted, discontinuous, ugly, blurry, low resolution, motionless, static",
    num_frames=16,
    guidance_scale=7.5,
    num_inference_steps=50,
    generator=torch.Generator("cpu").manual_seed(0),
)
frames = output.frames[0]
export_to_gif(frames, "animation.gif")
模型特定参数
有一些管道参数是每个模型独有的,例如调整视频中的运动或在初始图像中添加噪声。
控制视频生成
视频生成可以像控制文本到图像、图像到图像和图像修复一样,通过使用一个 [ControlNetModel] 来控制。唯一的不同是你需要使用 [~pipelines.text_to_video_synthesis.pipeline_text_to_video_zero.CrossFrameAttnProcessor],以便每一帧都能关注到第一帧。
Text2Video-Zero
Text2Video-Zero 视频生成可以通过姿态和边缘图像进行条件控制,从而对生成视频中主体的运动进行更精细的控制,或在视频中保留主体/对象的身份。你还可以使用 Text2Video-Zero 与 InstructPix2Pix 结合,通过文本编辑视频。
优化
视频生成需要大量内存,因为你要一次性生成许多视频帧。你可以通过牺牲一些推理速度来减少内存需求。尝试以下方法:
- 将不再需要的管道组件卸载到 CPU
- 前馈分块(feed-forward chunking)通过循环运行前馈层而不是一次性运行
- 将 VAE 需要解码的帧数分成多个块,而不是一次性解码所有帧
diff
- pipeline.enable_model_cpu_offload()
- frames = pipeline(image, decode_chunk_size=8, generator=generator).frames[0]
+ pipeline.enable_model_cpu_offload()
+ pipeline.unet.enable_forward_chunking()
+ frames = pipeline(image, decode_chunk_size=2, generator=generator, num_frames=25).frames[0]
如果内存不是问题,并且你希望优化速度,可以尝试使用 torch.compile 包装 UNet。
diff
- pipeline.enable_model_cpu_offload()
+ pipeline.to("cuda")
+ pipeline.unet = torch.compile(pipeline.unet, mode="reduce-overhead", fullgraph=True)