
算力平台:
IP-Adapter
IP-Adapter 是一个图像提示适配器,可以插入扩散模型中,无需对底层模型进行任何更改即可实现图像提示。此外,这个适配器可以与其他从同一基础模型微调的模型一起使用,并且可以与其他适配器(如 ControlNet)结合使用。IP-Adapter 的核心思想是 解耦交叉注意力 机制,该机制为图像特征添加了一个单独的交叉注意力层,而不是同时用于文本和图像特征的同一交叉注意力层。这使得模型能够学习更多图像特定的特征。
TIP
了解如何在 加载适配器 指南中加载 IP-Adapter,并确保查看 IP-Adapter Plus 部分,该部分需要手动加载图像编码器。
本指南将引导你使用 IP-Adapter 进行各种任务和用例。
通用任务
让我们看看如何使用 IP-Adapter 的图像提示功能与 [StableDiffusionXLPipeline] 进行文本到图像、图像到图像和修复等任务。我们还鼓励你尝试其他管道,如 Stable Diffusion、LCM-LoRA、ControlNet、T2I-Adapter 或 AnimateDiff!
在以下所有示例中,你将看到 [~loaders.IPAdapterMixin.set_ip_adapter_scale] 方法。此方法控制应用到模型的文本或图像条件的数量。值为 1.0 表示模型仅基于图像提示进行条件化。降低此值会鼓励模型生成更多样化的图像,但它们可能与图像提示的对齐程度较低。通常,值为 0.5 可以在两种提示类型之间取得良好的平衡,并产生良好的结果。
TIP
在以下示例中,尝试在 [~loaders.IPAdapterMixin.load_ip_adapter] 方法中添加 low_cpu_mem_usage=True 以加快加载时间。
配置参数
有几个 IP-Adapter 参数非常有用,可以帮助你完成图像生成任务。这些参数可以使你的工作流程更高效,或者让你对图像生成有更多控制。
图像嵌入
IP-Adapter 启用的管道提供了 ip_adapter_image_embeds 参数,用于接受预计算的图像嵌入。这在你需要多次运行 IP-Adapter 管道的情况下特别有用,例如,你有多个图像。例如,多 IP-Adapter 是一个特定的用例,你提供多个样式图像以生成特定风格的特定图像。每次使用管道时加载和编码多个图像会非常低效。相反,你可以预计算并将图像嵌入保存到磁盘(如果你使用的是高质量图像,这可以节省大量空间),并在需要时加载它们。
TIP
这个参数还赋予你从其他来源加载嵌入的灵活性。例如,ComfyUI 的 IP-Adapter 图像嵌入与 Diffusers 兼容,应该可以开箱即用!
调用 [~StableDiffusionPipeline.prepare_ip_adapter_image_embeds] 方法来编码和生成图像嵌入。然后你可以使用 torch.save 将它们保存到磁盘。
TIP
如果你使用的是 ip_adapter_image_embedding 而不是 ip_adapter_image,你可以设置 load_ip_adapter(image_encoder_folder=None,...),因为生成图像嵌入时不需要加载编码器。
py
image_embeds = pipeline.prepare_ip_adapter_image_embeds(
    ip_adapter_image=image,
    ip_adapter_image_embeds=None,
    device="cuda",
    num_images_per_prompt=1,
    do_classifier_free_guidance=True,
)

torch.save(image_embeds, "image_embeds.ipadpt")
现在通过将图像嵌入传递给 ip_adapter_image_embeds 参数来加载图像嵌入。
py
image_embeds = torch.load("image_embeds.ipadpt")
images = pipeline(
    prompt="a polar bear sitting in a chair drinking a milkshake",
    ip_adapter_image_embeds=image_embeds,
    negative_prompt="deformed, ugly, wrong proportion, low res, bad anatomy, worst quality, low quality",
    num_inference_steps=100,
    generator=generator,
).images
IP-Adapter 掩码
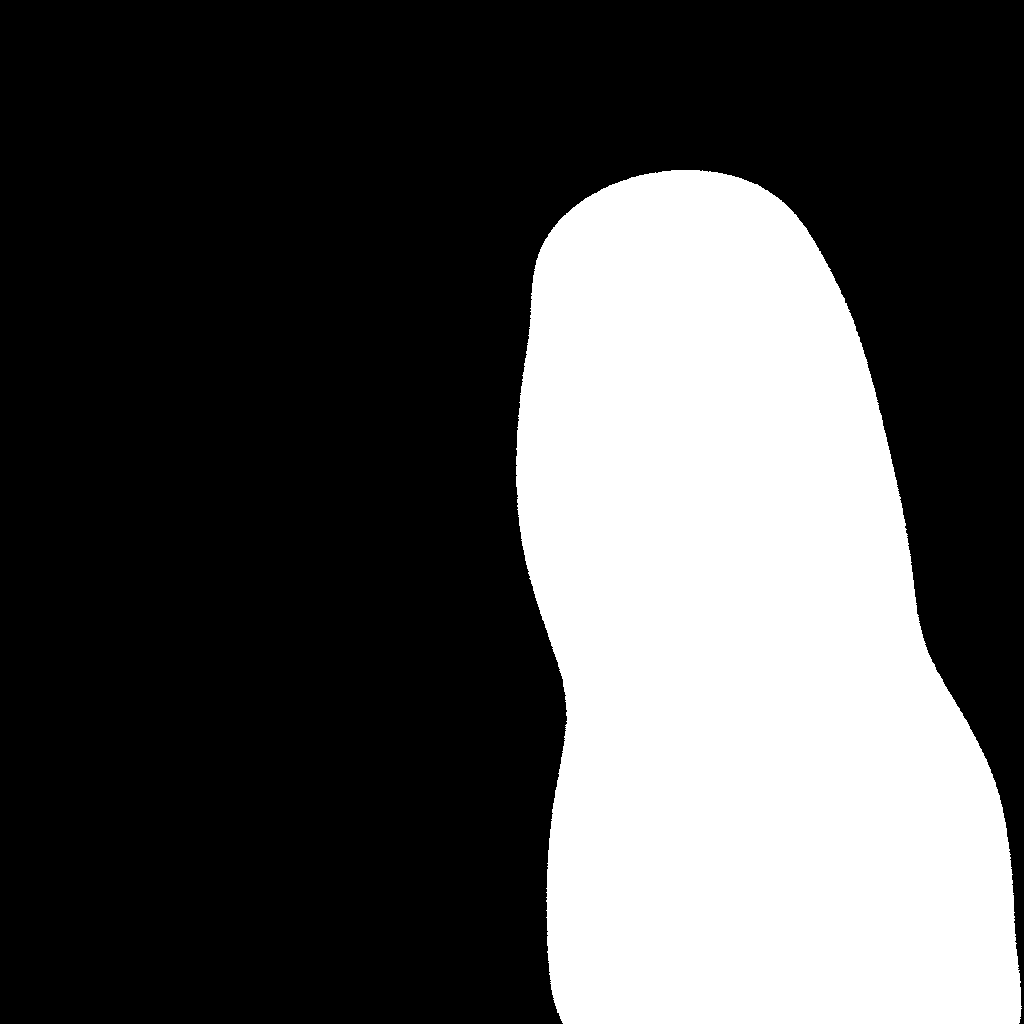
二进制掩码指定了输出图像的哪一部分应分配给 IP-Adapter。这对于组合多个 IP-Adapter 图像非常有用。对于每个输入的 IP-Adapter 图像,你必须提供一个二进制掩码。
首先,使用 [~image_processor.IPAdapterMaskProcessor.preprocess()] 预处理输入的 IP-Adapter 图像以生成它们的掩码。为了获得最佳效果,请向 [~image_processor.IPAdapterMaskProcessor.preprocess()] 提供输出的高度和宽度。这可以确保不同宽高比的掩码被适当拉伸。如果输入的掩码已经与生成图像的宽高比匹配,你不需要设置 height 和 width。
py
from diffusers.image_processor import IPAdapterMaskProcessor

mask1 = load_image("https://huggingface.co/datasets/huggingface/documentation-images/resolve/main/diffusers/ip_mask_mask1.png")
mask2 = load_image("https://huggingface.co/datasets/huggingface/documentation-images/resolve/main/diffusers/ip_mask_mask2.png")

output_height = 1024
output_width = 1024

processor = IPAdapterMaskProcessor()
masks = processor.preprocess([mask1, mask2], height=output_height, width=output_width)
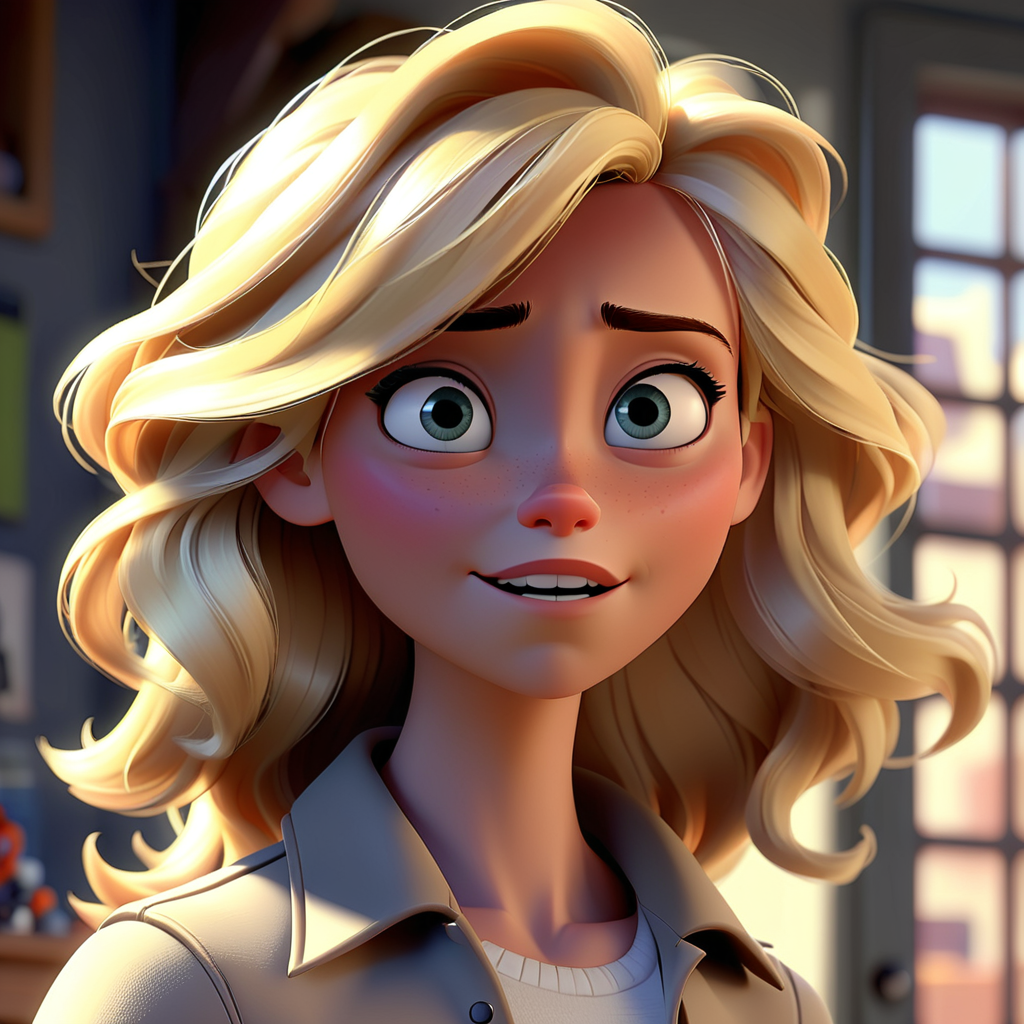
当有多个输入的 IP-Adapter 图像时,将它们作为列表加载并提供 IP-Adapter 缩放列表。这里的每个输入 IP-Adapter 图像都对应于上面生成的一个掩码。
py
pipeline.load_ip_adapter("h94/IP-Adapter", subfolder="sdxl_models", weight_name=["ip-adapter-plus-face_sdxl_vit-h.safetensors"])
pipeline.set_ip_adapter_scale([[0.7, 0.7]])  # one scale for each image-mask pair

face_image1 = load_image("https://huggingface.co/datasets/huggingface/documentation-images/resolve/main/diffusers/ip_mask_girl1.png")
face_image2 = load_image("https://huggingface.co/datasets/huggingface/documentation-images/resolve/main/diffusers/ip_mask_girl2.png")

ip_images = [[face_image1, face_image2]]

masks = [masks.reshape(1, masks.shape[0], masks.shape[2], masks.shape[3])]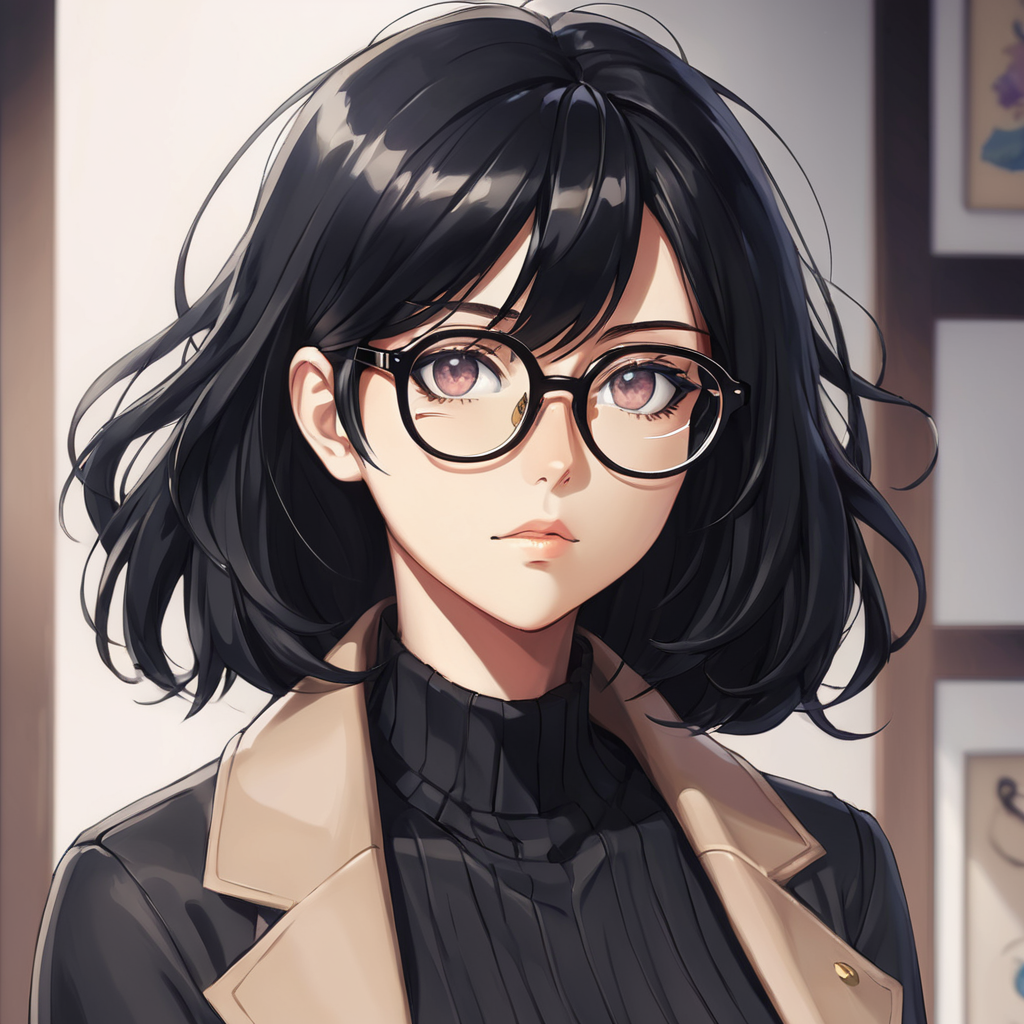
现在将预处理的掩码传递给 cross_attention_kwargs 中的管道调用。
py
generator = torch.Generator(device="cpu").manual_seed(0)
num_images = 1

image = pipeline(
    prompt="2 girls",
    ip_adapter_image=ip_images,
    negative_prompt="monochrome, lowres, bad anatomy, worst quality, low quality",
    num_inference_steps=20,
    num_images_per_prompt=num_images,
    generator=generator,
    cross_attention_kwargs={"ip_adapter_masks": masks}
).images[0]
image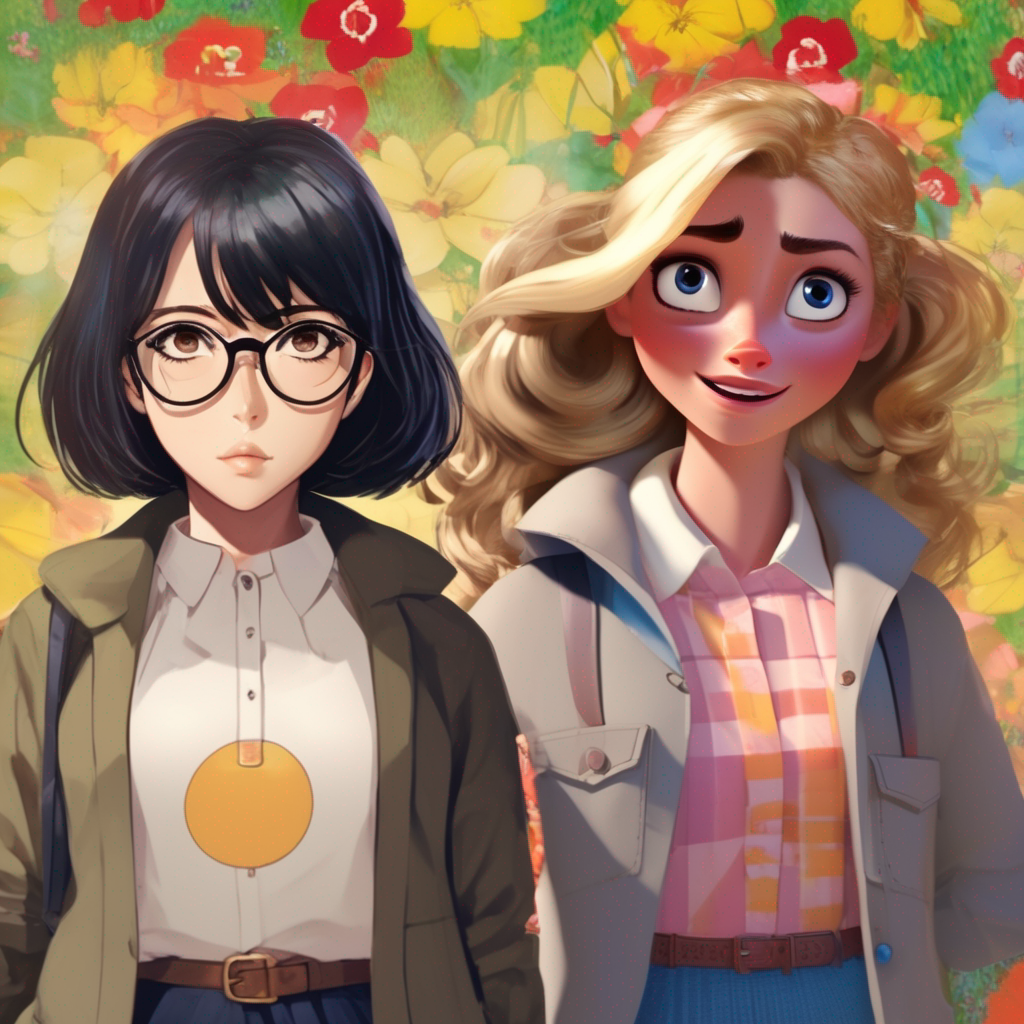
具体用例
IP-Adapter 的图像提示和与其他适配器和模型的兼容性使其成为多种应用场景中的多功能工具。本节将介绍一些更受欢迎的 IP-Adapter 应用,我们迫不及待地想看看你会用它做些什么!
人脸模型
生成准确的人脸具有挑战性,因为人脸是复杂且微妙的。Diffusers 支持两个专门用于生成人脸的 IP-Adapter 检查点,这些检查点来自 h94/IP-Adapter 仓库:
- ip-adapter-full-face_sd15.safetensors 通过裁剪的人脸图像和去除背景进行条件化
- ip-adapter-plus-face_sd15.safetensors 使用补丁嵌入,并通过裁剪的人脸图像进行条件化
此外,Diffusers 支持所有使用 insightface 人脸模型提取的人脸嵌入训练的 IP-Adapter 检查点。支持的模型来自 h94/IP-Adapter-FaceID 仓库。
对于人脸模型,使用 h94/IP-Adapter 检查点。建议使用 [DDIMScheduler] 或 [EulerDiscreteScheduler] 为人脸模型进行调度。
py
import torch
from diffusers import StableDiffusionPipeline, DDIMScheduler
from diffusers.utils import load_image
pipeline = StableDiffusionPipeline.from_pretrained(
"stable-diffusion-v1-5/stable-diffusion-v1-5",
torch_dtype=torch.float16,
).to("cuda")
pipeline.scheduler = DDIMScheduler.from_config(pipeline.scheduler.config)
pipeline.load_ip_adapter("h94/IP-Adapter", subfolder="models", weight_name="ip-adapter-full-face_sd15.bin")
pipeline.set_ip_adapter_scale(0.5)
image = load_image("https://huggingface.co/datasets/huggingface/documentation-images/resolve/main/diffusers/ip_adapter_einstein_base.png")
generator = torch.Generator(device="cpu").manual_seed(26)
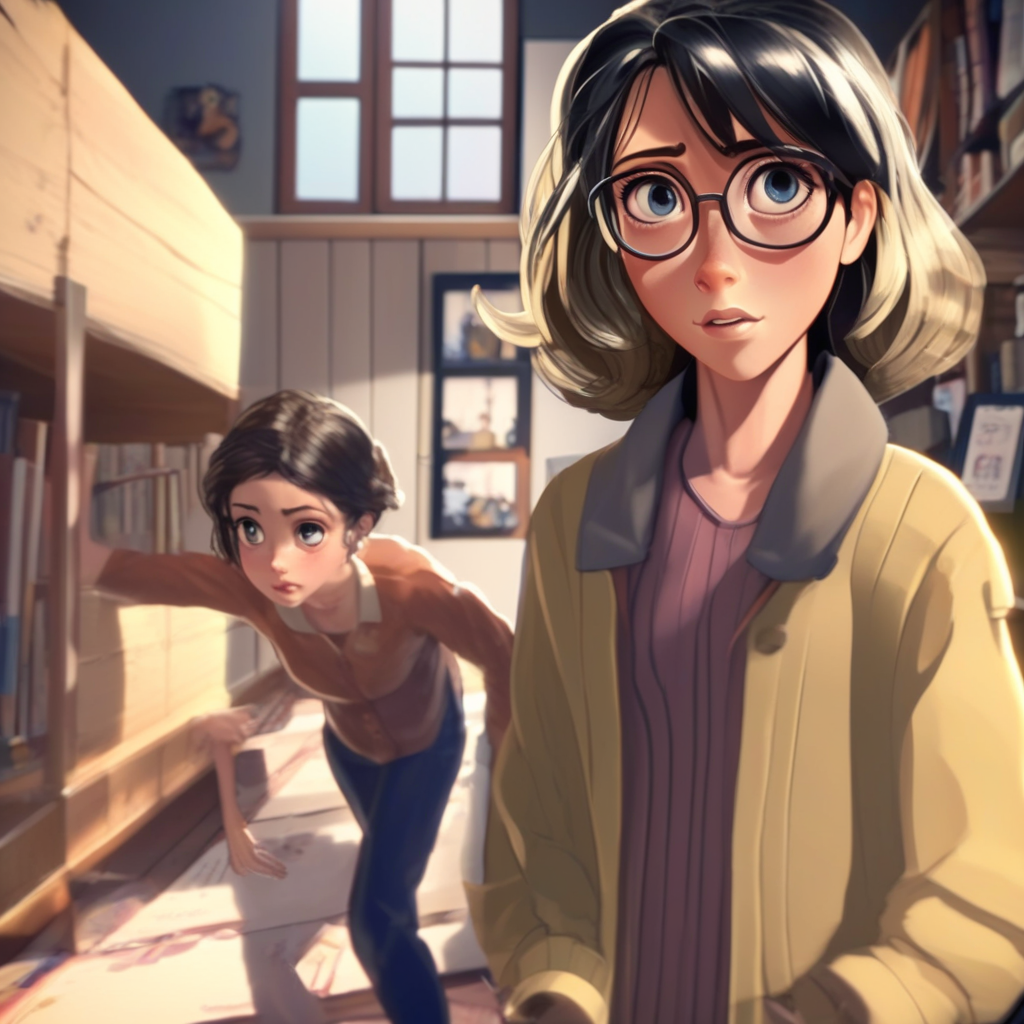
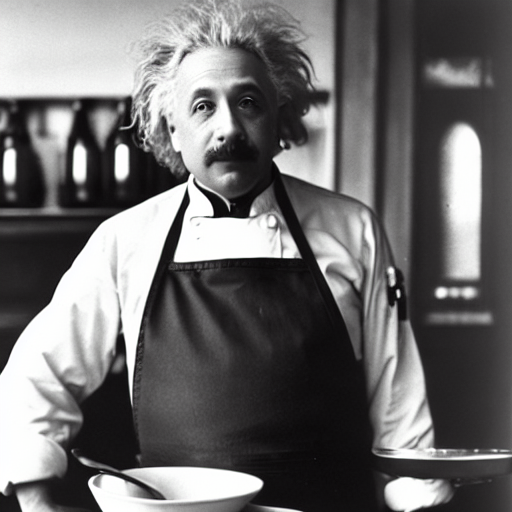
image = pipeline(
prompt="A photo of Einstein as a chef, wearing an apron, cooking in a French restaurant",
ip_adapter_image=image,
negative_prompt="lowres, bad anatomy, worst quality, low quality",
num_inference_steps=100,
generator=generator,
).images[0]
image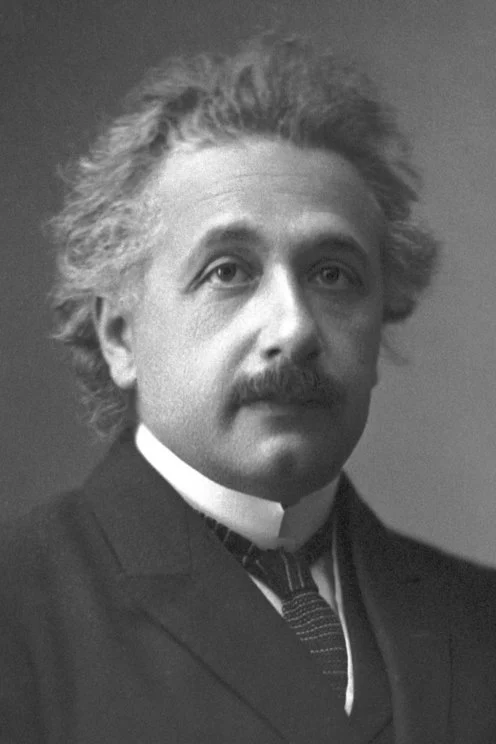
要使用 IP-Adapter FaceID 模型,首先使用 insightface 提取面部嵌入。然后将张量列表传递给管道作为 ip_adapter_image_embeds。
py
import torch
from diffusers import StableDiffusionPipeline, DDIMScheduler
from diffusers.utils import load_image
from insightface.app import FaceAnalysis

pipeline = StableDiffusionPipeline.from_pretrained(
    "stable-diffusion-v1-5/stable-diffusion-v1-5",
    torch_dtype=torch.float16,
).to("cuda")
pipeline.scheduler = DDIMScheduler.from_config(pipeline.scheduler.config)
pipeline.load_ip_adapter("h94/IP-Adapter-FaceID", subfolder=None, weight_name="ip-adapter-faceid_sd15.bin", image_encoder_folder=None)
pipeline.set_ip_adapter_scale(0.6)

image = load_image("https://huggingface.co/datasets/huggingface/documentation-images/resolve/main/diffusers/ip_mask_girl1.png")

ref_images_embeds = []
app = FaceAnalysis(name="buffalo_l", providers=['CUDAExecutionProvider', 'CPUExecutionProvider'])
app.prepare(ctx_id=0, det_size=(640, 640))
image = cv2.cvtColor(np.asarray(image), cv2.COLOR_BGR2RGB)
faces = app.get(image)
image = torch.from_numpy(faces[0].normed_embedding)
ref_images_embeds.append(image.unsqueeze(0))
ref_images_embeds = torch.stack(ref_images_embeds, dim=0).unsqueeze(0)
neg_ref_images_embeds = torch.zeros_like(ref_images_embeds)
id_embeds = torch.cat([neg_ref_images_embeds, ref_images_embeds]).to(dtype=torch.float16, device="cuda")

generator = torch.Generator(device="cpu").manual_seed(42)

images = pipeline(
    prompt="A photo of a girl",
    ip_adapter_image_embeds=[id_embeds],
    negative_prompt="monochrome, lowres, bad anatomy, worst quality, low quality",
    num_inference_steps=20, num_images_per_prompt=1,
    generator=generator
).images
IP-Adapter FaceID Plus 和 Plus v2 模型都需要 CLIP 图像嵌入。你可以按照之前的方法准备面部嵌入,然后提取并传递 CLIP 嵌入到隐藏图像投影层。
py
from insightface.utils import face_align

ref_images_embeds = []
ip_adapter_images = []
app = FaceAnalysis(name="buffalo_l", providers=['CUDAExecutionProvider', 'CPUExecutionProvider'])
app.prepare(ctx_id=0, det_size=(640, 640))
image = cv2.cvtColor(np.asarray(image), cv2.COLOR_BGR2RGB)
faces = app.get(image)
ip_adapter_images.append(face_align.norm_crop(image, landmark=faces[0].kps, image_size=224))
image = torch.from_numpy(faces[0].normed_embedding)
ref_images_embeds.append(image.unsqueeze(0))
ref_images_embeds = torch.stack(ref_images_embeds, dim=0).unsqueeze(0)
neg_ref_images_embeds = torch.zeros_like(ref_images_embeds)
id_embeds = torch.cat([neg_ref_images_embeds, ref_images_embeds]).to(dtype=torch.float16, device="cuda")

clip_embeds = pipeline.prepare_ip_adapter_image_embeds(
  [ip_adapter_images], None, torch.device("cuda"), num_images, True)[0]

pipeline.unet.encoder_hid_proj.image_projection_layers[0].clip_embeds = clip_embeds.to(dtype=torch.float16)
pipeline.unet.encoder_hid_proj.image_projection_layers[0].shortcut = False # True if Plus v2
多 IP-Adapter
可以同时使用多个 IP-Adapter 以生成更多样化的特定图像。例如,你可以使用 IP-Adapter-Face 生成一致的面部和角色,使用 IP-Adapter Plus 生成特定风格的面部。
TIP
阅读 IP-Adapter Plus 部分,了解为什么需要手动加载图像编码器。
使用 [~transformers.CLIPVisionModelWithProjection] 加载图像编码器。
py
import torch
from diffusers import AutoPipelineForText2Image, DDIMScheduler
from transformers import CLIPVisionModelWithProjection
from diffusers.utils import load_image

image_encoder = CLIPVisionModelWithProjection.from_pretrained(
    "h94/IP-Adapter",
    subfolder="models/image_encoder",
    torch_dtype=torch.float16,
)
接下来,你将加载基础模型、调度器和 IP-Adapters。要使用的 IP-Adapters 作为列表传递给 weight_name 参数:
- ip-adapter-plus_sdxl_vit-h 使用补丁嵌入和 ViT-H 图像编码器
- ip-adapter-plus-face_sdxl_vit-h 具有相同的架构,但使用裁剪的人脸图像进行条件化
py
pipeline = AutoPipelineForText2Image.from_pretrained(
    "stabilityai/stable-diffusion-xl-base-1.0",
    torch_dtype=torch.float16,
    image_encoder=image_encoder,
)
pipeline.scheduler = DDIMScheduler.from_config(pipeline.scheduler.config)
pipeline.load_ip_adapter(
  "h94/IP-Adapter",
  subfolder="sdxl_models",
  weight_name=["ip-adapter-plus_sdxl_vit-h.safetensors", "ip-adapter-plus-face_sdxl_vit-h.safetensors"]
)
pipeline.set_ip_adapter_scale([0.7, 0.3])
pipeline.enable_model_cpu_offload()
加载一个图像提示和一个包含你想要使用的某种风格的图像的文件夹。
py
face_image = load_image("https://huggingface.co/datasets/YiYiXu/testing-images/resolve/main/women_input.png")
style_folder = "https://huggingface.co/datasets/YiYiXu/testing-images/resolve/main/style_ziggy"
style_images = [load_image(f"{style_folder}/img{i}.png") for i in range(10)]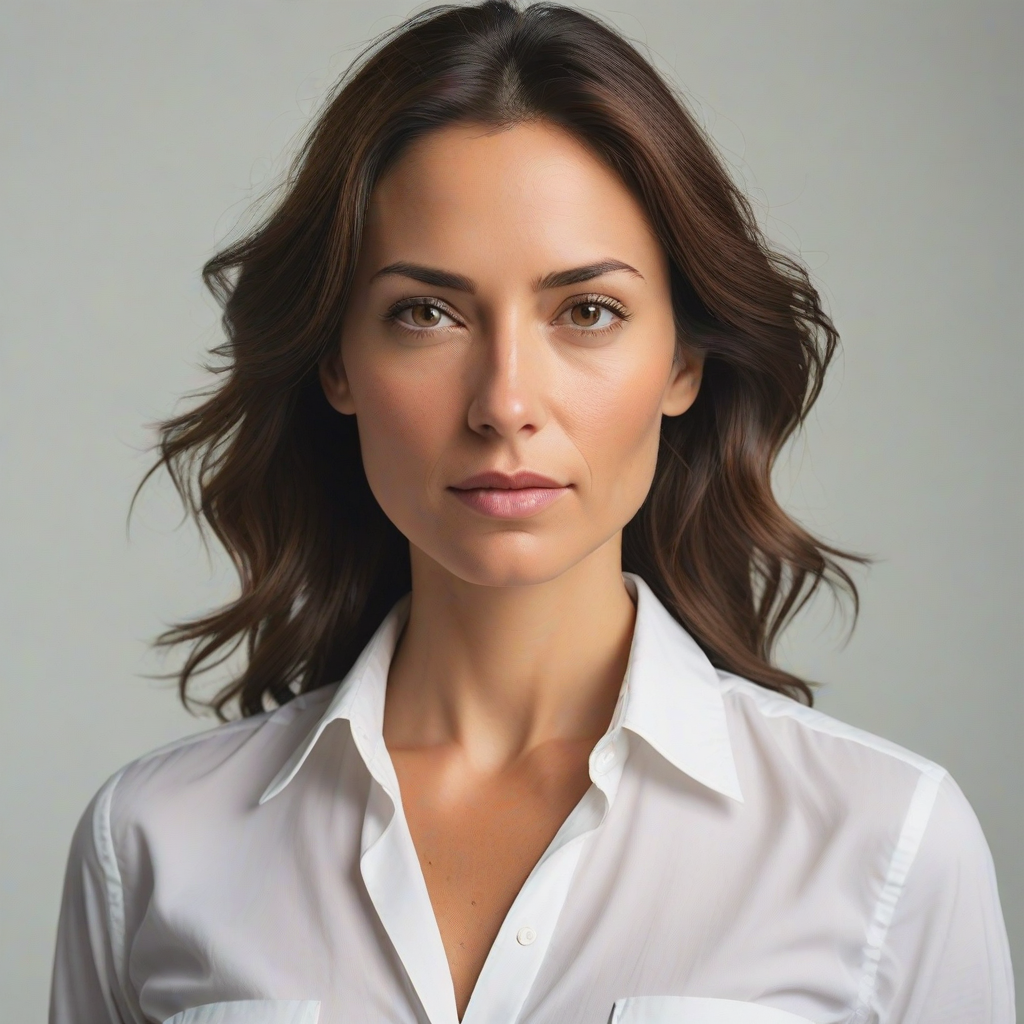
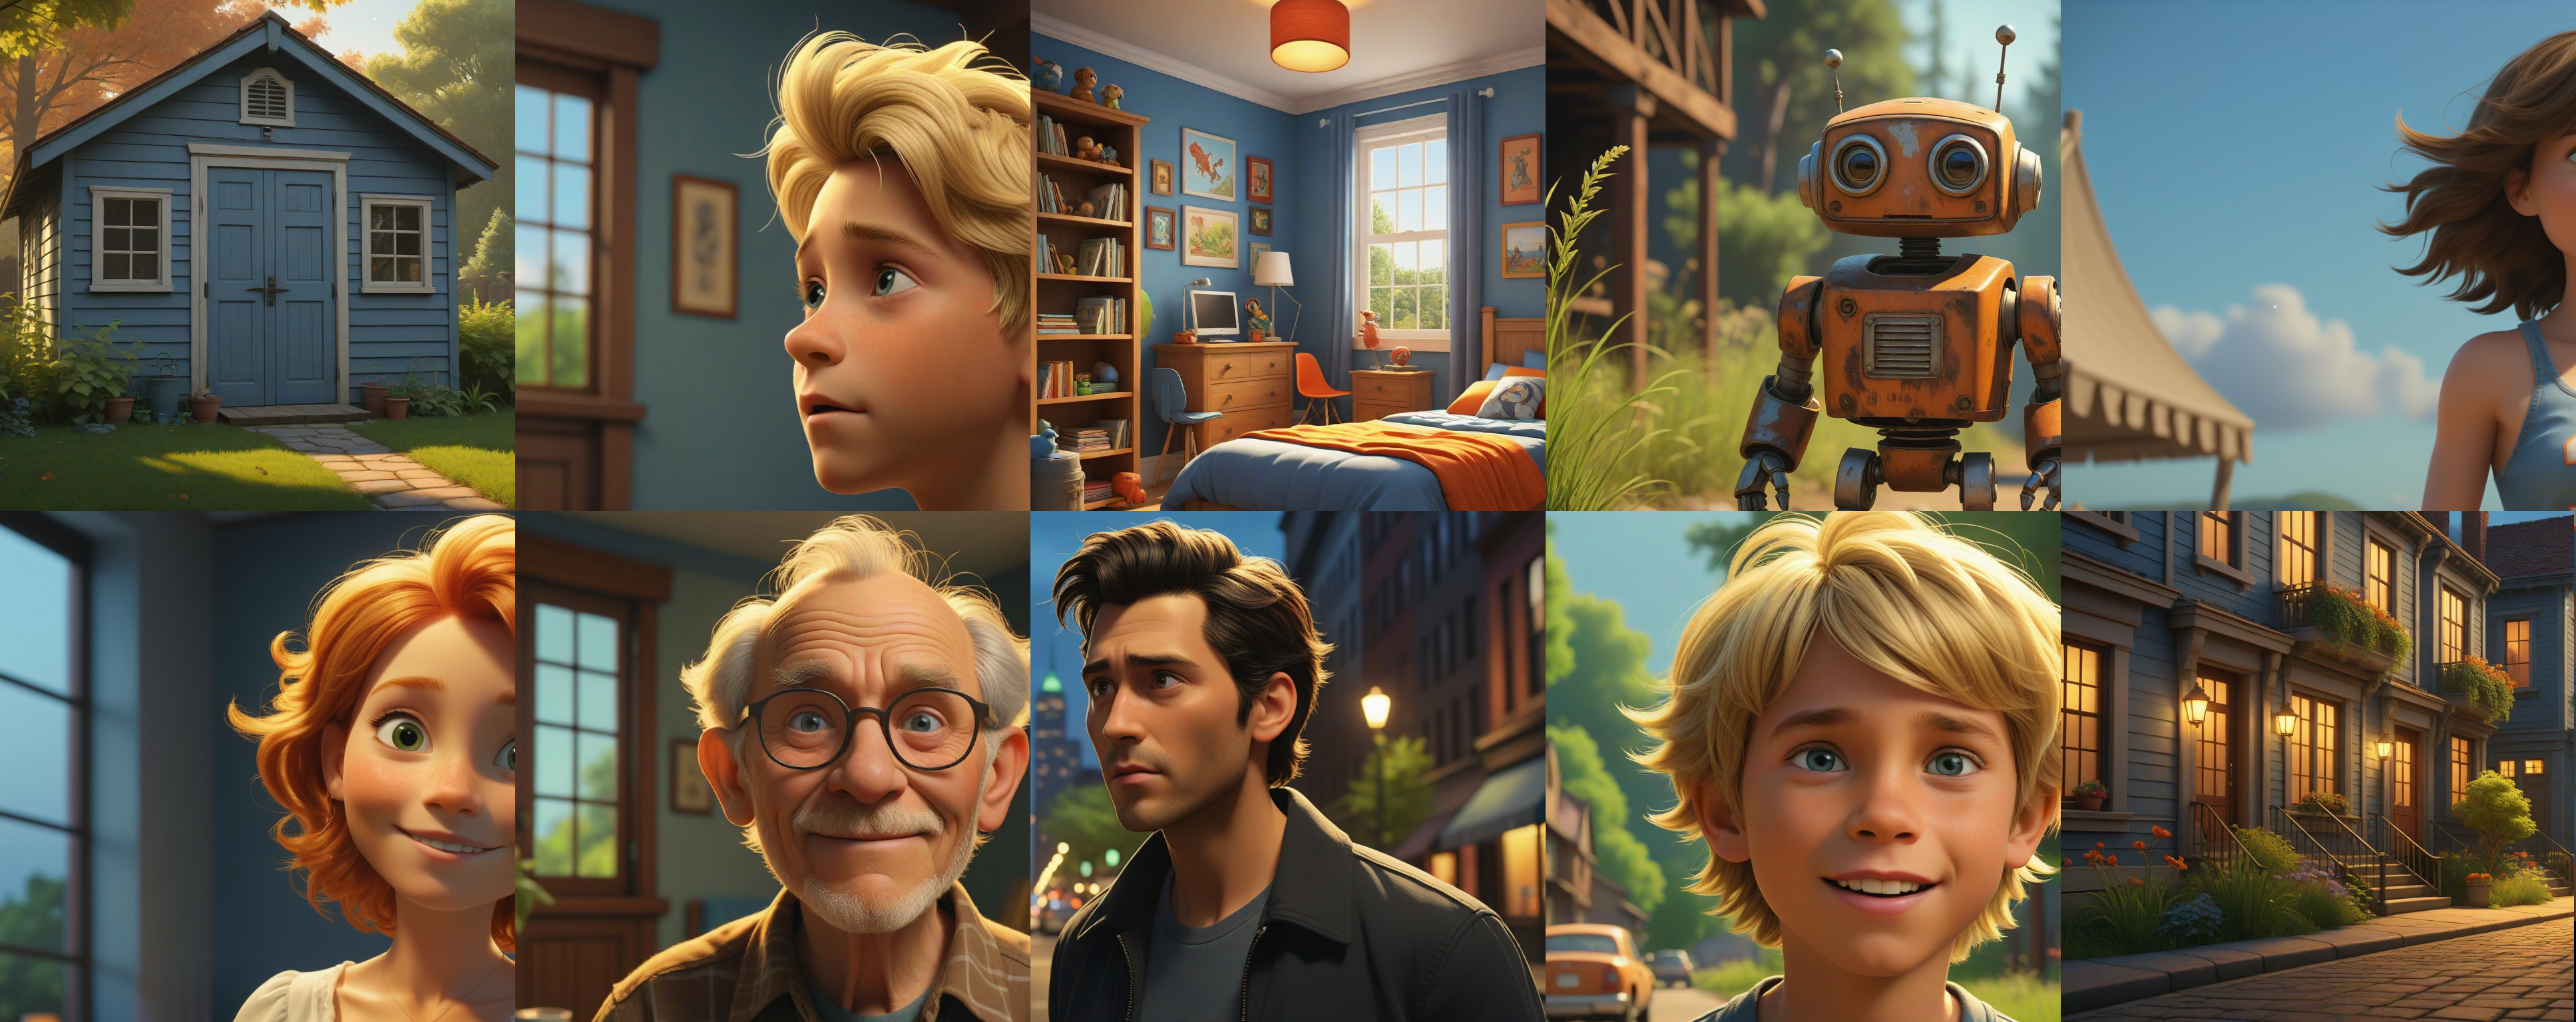
将图像提示和风格图像作为列表传递给 ip_adapter_image 参数,然后运行管道!
py
generator = torch.Generator(device="cpu").manual_seed(0)

image = pipeline(
    prompt="wonderwoman",
    ip_adapter_image=[style_images, face_image],
    negative_prompt="monochrome, lowres, bad anatomy, worst quality, low quality",
    num_inference_steps=50, num_images_per_prompt=1,
    generator=generator,
).images[0]
image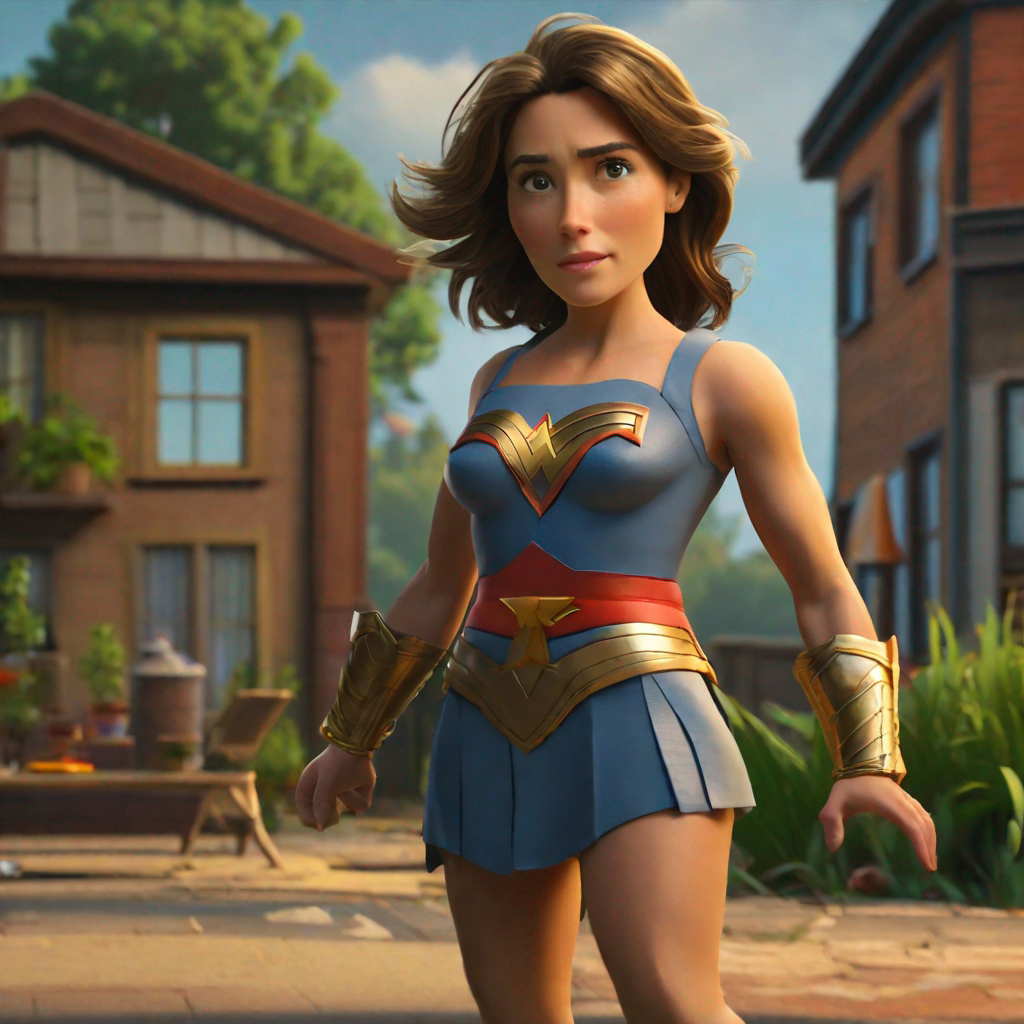
即时生成
潜在一致性模型 (LCM) 是一种扩散模型,与通常需要更多步骤的其他扩散模型(如 SDXL)相比,LCM 可以在短短 4 步内生成图像。这就是为什么使用 LCM 生成图像感觉“即时”的原因。IP-Adapters 可以插入到 LCM-LoRA 模型中,以即时生成带有图像提示的图像。
首先需要加载 IP-Adapter 权重,然后你可以使用 [~StableDiffusionPipeline.load_lora_weights] 加载你想要应用于图像的 LoRA 风格和权重。
py
from diffusers import DiffusionPipeline, LCMScheduler
import torch
from diffusers.utils import load_image

model_id = "sd-dreambooth-library/herge-style"
lcm_lora_id = "latent-consistency/lcm-lora-sdv1-5"

pipeline = DiffusionPipeline.from_pretrained(model_id, torch_dtype=torch.float16)

pipeline.load_ip_adapter("h94/IP-Adapter", subfolder="models", weight_name="ip-adapter_sd15.bin")
pipeline.load_lora_weights(lcm_lora_id)
pipeline.scheduler = LCMScheduler.from_config(pipeline.scheduler.config)
pipeline.enable_model_cpu_offload()
尝试使用较低的 IP-Adapter 比例来更多地基于 herge_style 检查点生成图像,并记得在提示中使用特殊标记 herge_style 以触发并应用该风格。
py
pipeline.set_ip_adapter_scale(0.4)

prompt = "herge_style woman in armor, best quality, high quality"
generator = torch.Generator(device="cpu").manual_seed(0)

ip_adapter_image = load_image("https://user-images.githubusercontent.com/24734142/266492875-2d50d223-8475-44f0-a7c6-08b51cb53572.png")
image = pipeline(
    prompt=prompt,
    ip_adapter_image=ip_adapter_image,
    num_inference_steps=4,
    guidance_scale=1,
).images[0]
image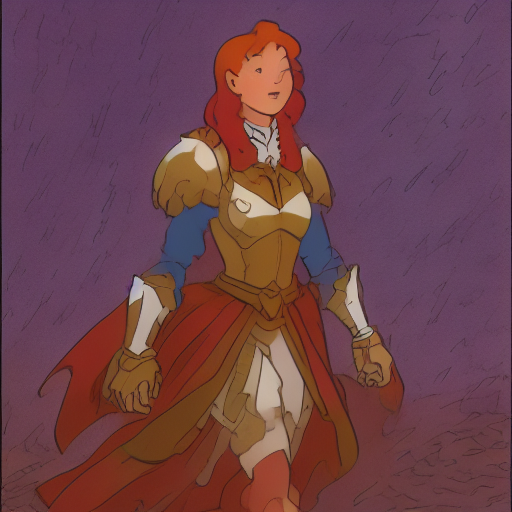
结构控制
为了更精细地控制图像生成,你可以将 IP-Adapter 与像 ControlNet 这样的模型结合使用。ControlNet 也是一个适配器,可以插入到扩散模型中,以允许对额外的控制图像进行条件化。控制图像可以是深度图、边缘图、姿态估计等。
加载一个以深度图为条件的 [ControlNetModel] 检查点,将其插入到扩散模型中,并加载 IP-Adapter。
py
from diffusers import StableDiffusionControlNetPipeline, ControlNetModel
import torch
from diffusers.utils import load_image

controlnet_model_path = "lllyasviel/control_v11f1p_sd15_depth"
controlnet = ControlNetModel.from_pretrained(controlnet_model_path, torch_dtype=torch.float16)

pipeline = StableDiffusionControlNetPipeline.from_pretrained(
    "stable-diffusion-v1-5/stable-diffusion-v1-5", controlnet=controlnet, torch_dtype=torch.float16)
pipeline.to("cuda")
pipeline.load_ip_adapter("h94/IP-Adapter", subfolder="models", weight_name="ip-adapter_sd15.bin")
现在加载 IP-Adapter 图像和深度图。
py
ip_adapter_image = load_image("https://huggingface.co/datasets/YiYiXu/testing-images/resolve/main/statue.png")
depth_map = load_image("https://huggingface.co/datasets/YiYiXu/testing-images/resolve/main/depth.png")
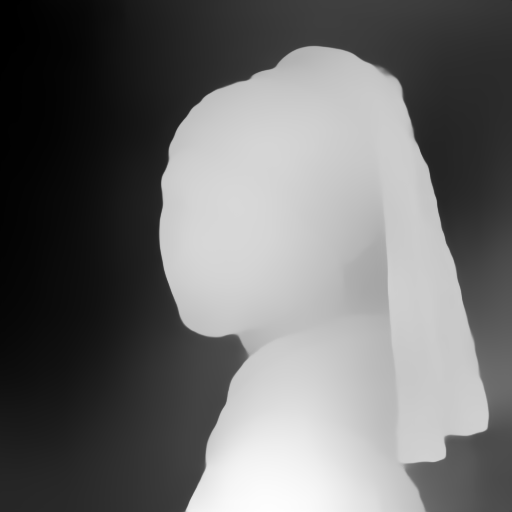
将深度图和 IP-Adapter 图像传递给管道以生成图像。
py
generator = torch.Generator(device="cpu").manual_seed(33)
image = pipeline(
    prompt="best quality, high quality",
    image=depth_map,
    ip_adapter_image=ip_adapter_image,
    negative_prompt="monochrome, lowres, bad anatomy, worst quality, low quality",
    num_inference_steps=50,
    generator=generator,
).images[0]
image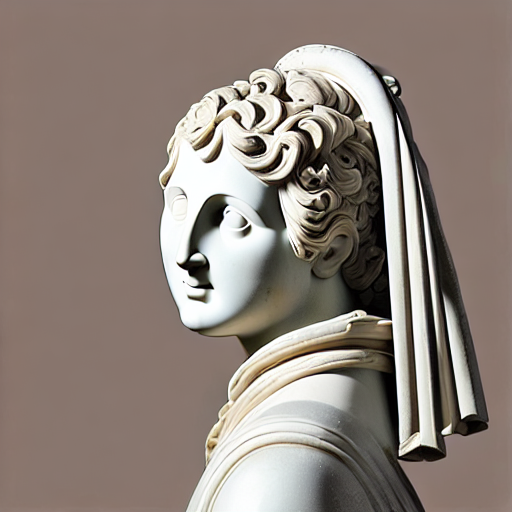
样式与布局控制
InstantStyle 是一种基于 IP-Adapter 的即插即用方法,它将样式和布局从图像提示中分离出来,以控制图像生成。通过这种方式,你可以生成仅遵循图像提示的样式或布局的图像,显著提高了多样性。这是通过仅激活模型特定部分的 IP-Adapter 来实现的。
默认情况下,IP-Adapter 会被插入到模型的所有层。使用 [~loaders.IPAdapterMixin.set_ip_adapter_scale] 方法并传入一个字典,可以为不同层的 IP-Adapter 分配不同的缩放比例。
py
from diffusers import AutoPipelineForText2Image
from diffusers.utils import load_image
import torch

pipeline = AutoPipelineForText2Image.from_pretrained("stabilityai/stable-diffusion-xl-base-1.0", torch_dtype=torch.float16).to("cuda")
pipeline.load_ip_adapter("h94/IP-Adapter", subfolder="sdxl_models", weight_name="ip-adapter_sdxl.bin")

scale = {
    "down": {"block_2": [0.0, 1.0]},
    "up": {"block_0": [0.0, 1.0, 0.0]},
}
pipeline.set_ip_adapter_scale(scale)
这将在模型的下部块 2 和上部块 0 的第二层激活 IP-Adapter。前者是 IP-Adapter 注入布局信息的层,后者是注入风格的层。将 IP-Adapter 插入这两层,你可以生成既符合图像提示的风格和布局,又更贴近文本提示内容的图像。
py
style_image = load_image("https://huggingface.co/datasets/huggingface/documentation-images/resolve/0052a70beed5bf71b92610a43a52df6d286cd5f3/diffusers/rabbit.jpg")

generator = torch.Generator(device="cpu").manual_seed(26)
image = pipeline(
    prompt="a cat, masterpiece, best quality, high quality",
    ip_adapter_image=style_image,
    negative_prompt="text, watermark, lowres, low quality, worst quality, deformed, glitch, low contrast, noisy, saturation, blurry",
    guidance_scale=5,
    num_inference_steps=30,
    generator=generator,
).images[0]
image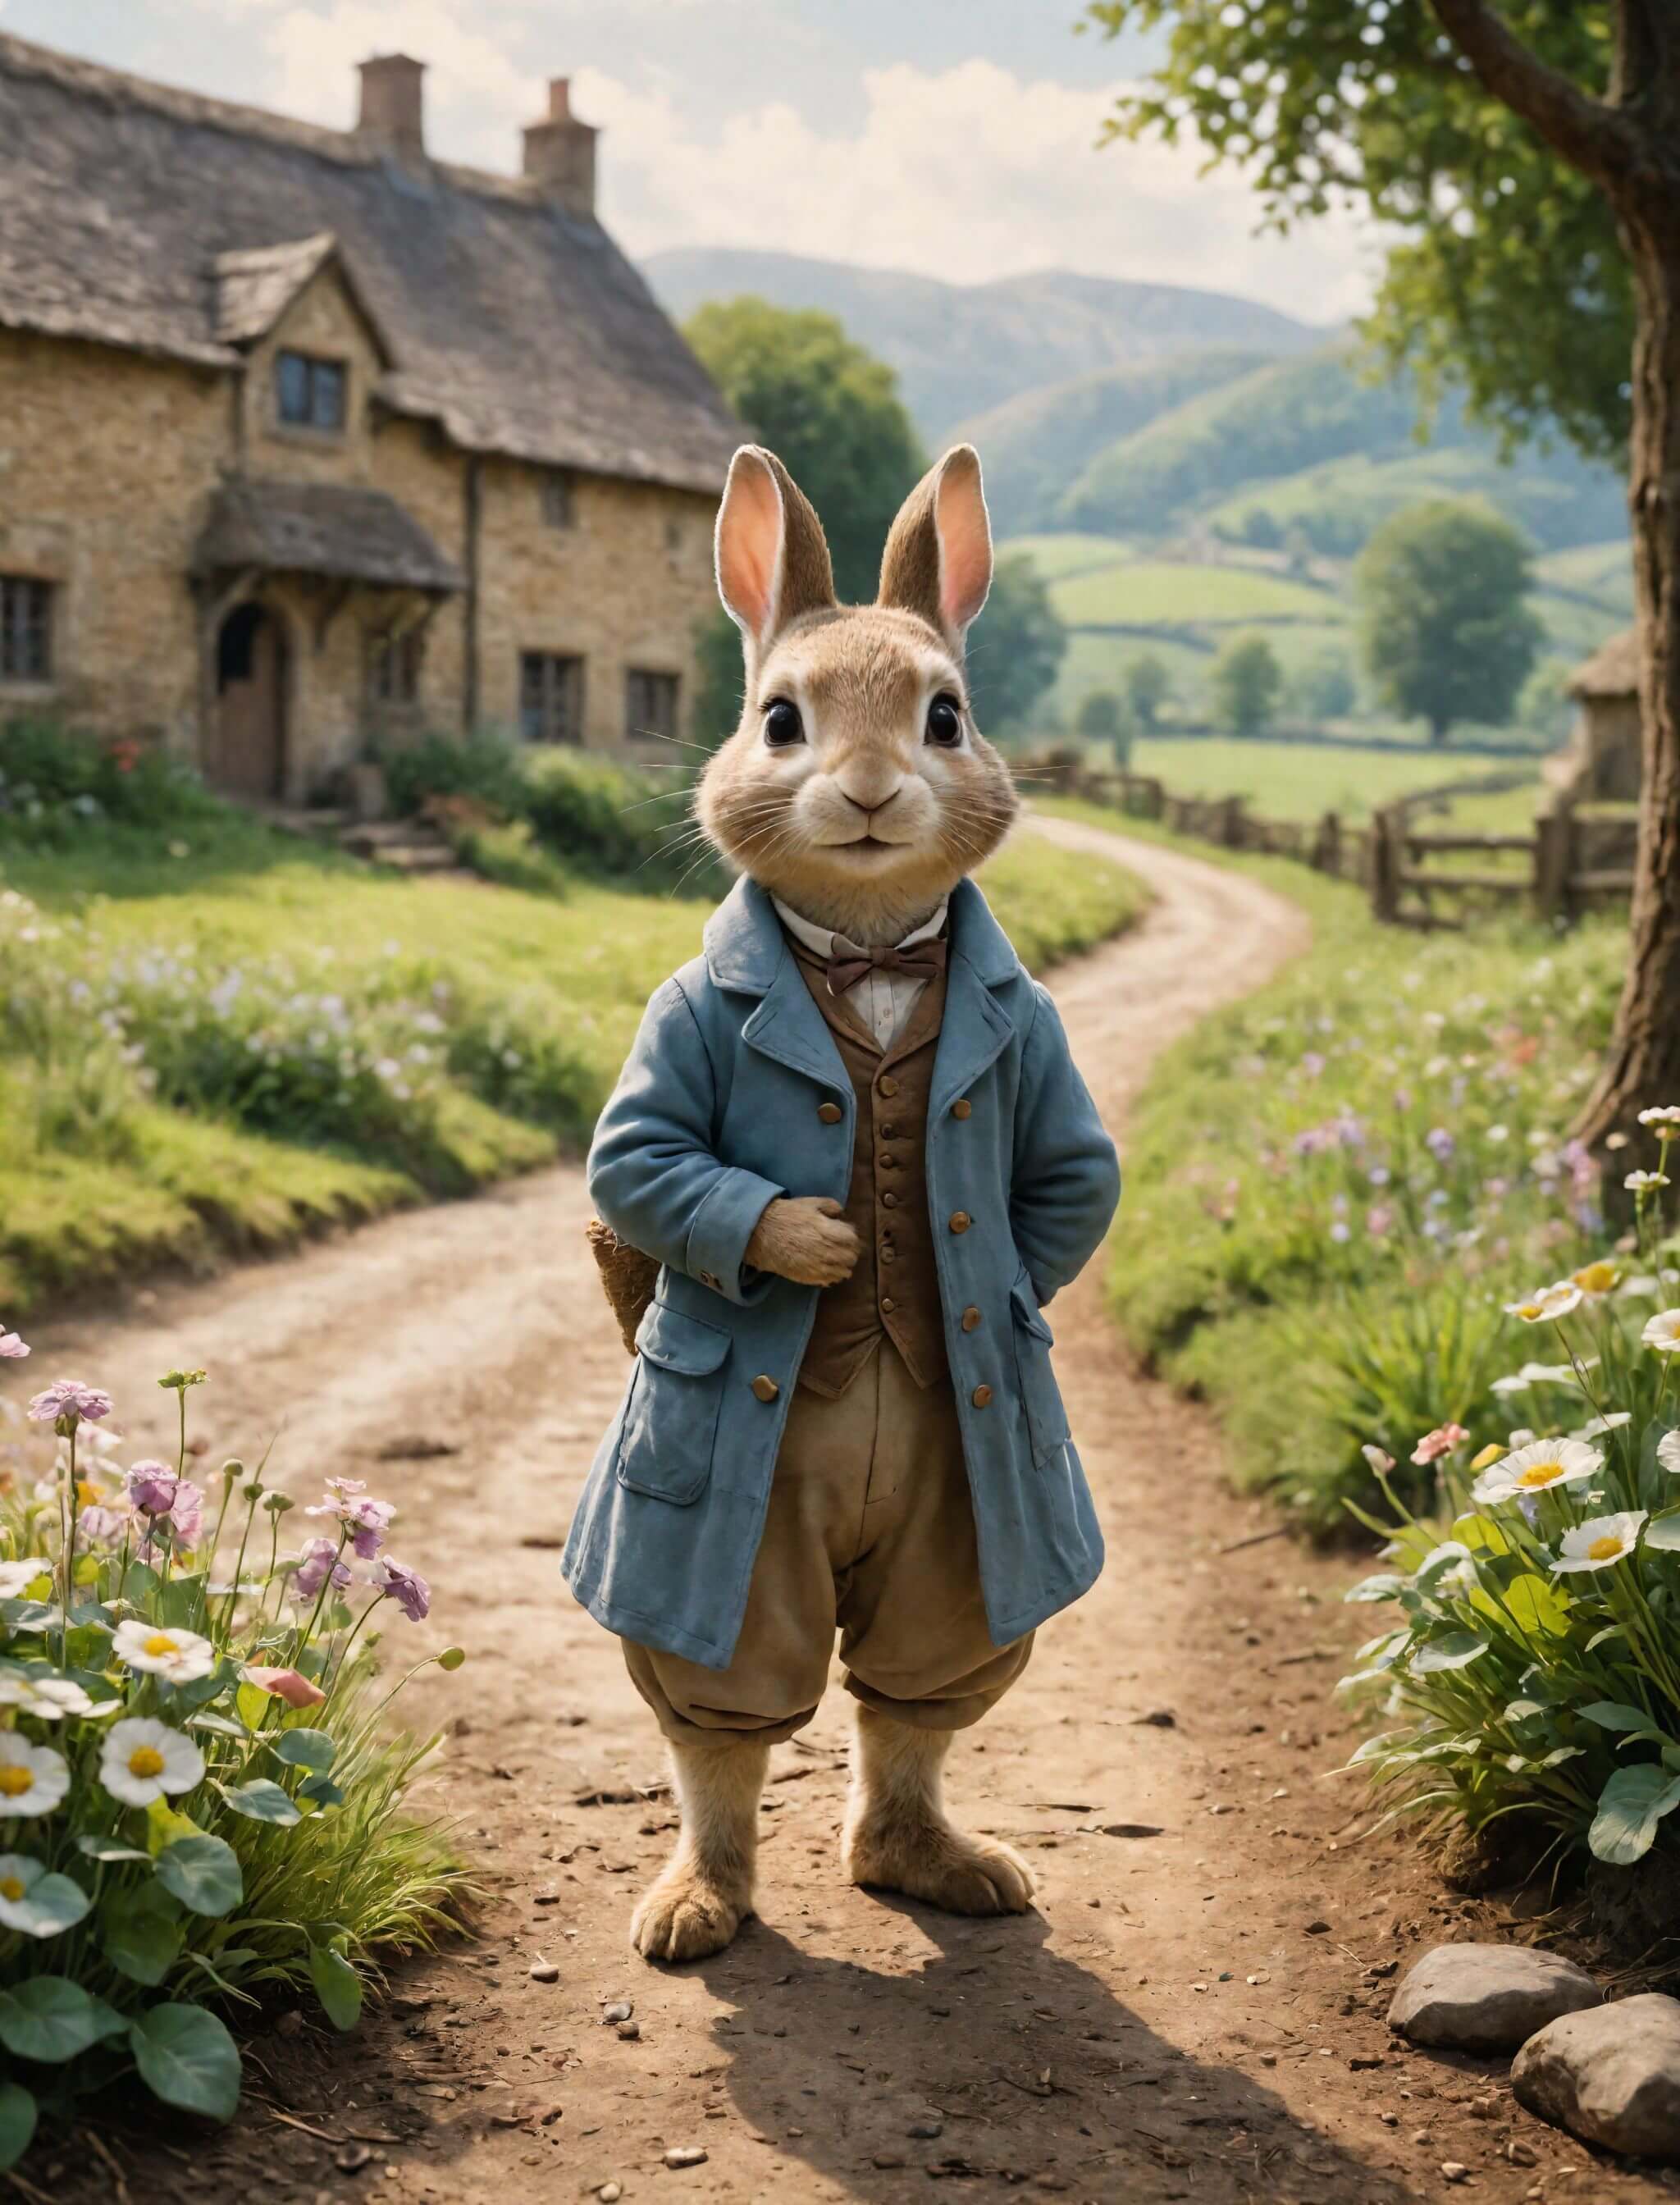

相比之下,将 IP-Adapter 插入所有层通常会生成过于关注图像提示的图像,从而减少多样性。
仅在样式层激活 IP-Adapter,然后再次调用管道。
py
scale = {
    "up": {"block_0": [0.0, 1.0, 0.0]},
}
pipeline.set_ip_adapter_scale(scale)

generator = torch.Generator(device="cpu").manual_seed(26)
image = pipeline(
    prompt="a cat, masterpiece, best quality, high quality",
    ip_adapter_image=style_image,
    negative_prompt="text, watermark, lowres, low quality, worst quality, deformed, glitch, low contrast, noisy, saturation, blurry",
    guidance_scale=5,
    num_inference_steps=30,
    generator=generator,
).images[0]
image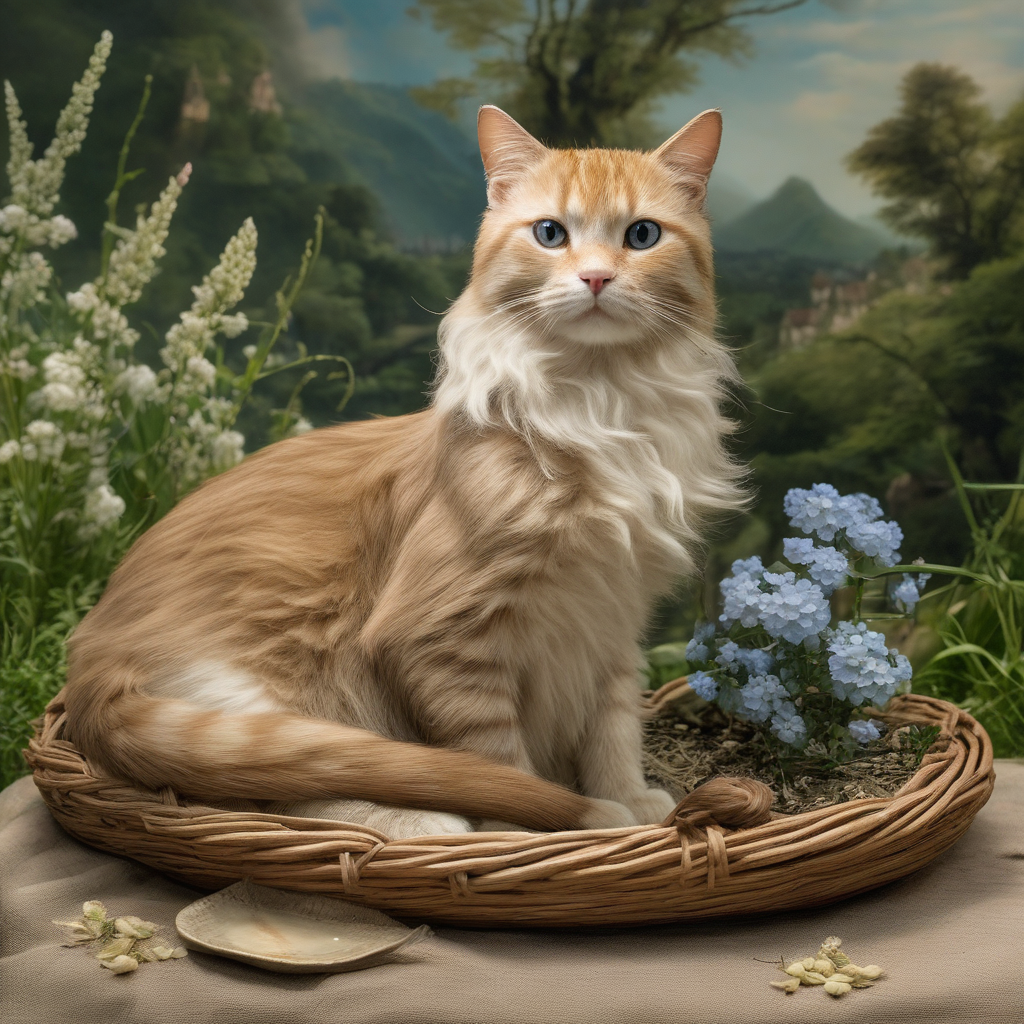

请注意,你不需要在字典中指定所有层。未包含在字典中的层将被设置为比例 0,这意味着默认禁用 IP-Adapter。